Now that you have created your page and added it to your blogger widget. You would agree with me that sharing each of your posts to Facebook page can be a little stressful.
Imagine if you publish about 30–40 post daily, imagine the stress you would go through to start sharing those post one after the other on your facebook page.
So a lot of people have sorted out for alternatives including myself, on how I can auto-share my blogger post to my facebook page.
With the help of this tool that I discovered online it very easy for me to share to your facebook page. This online tool is called IFTTT.
IFTTT not only allows you to share your post with facebook, It also allows you to share to other social media including twitter, google plus, Tumblr, Instagram, youtube etc.
How to use IFTTT to Auto Share your Post to your Facebook Page
Using IFTTT can be very easy but confusing. So, I will make the steps more of images. Hope its ok?
Using IFTTT can be very easy but confusing. So, I will make the steps more of images. Hope its ok?
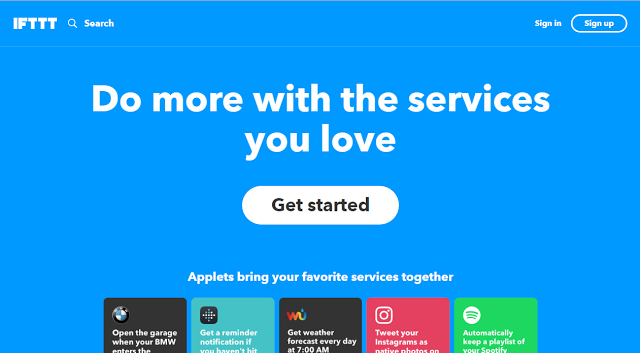
Firstly, you will need to Visit IFTTT.
As you can see in the top right of the page, you will then click on sign up, You will be directed to sign up with your E-mail and Password.
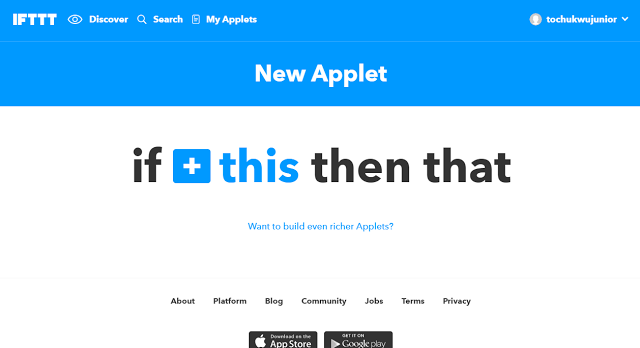
After successful signing up, it’s time to create an applet, Click on My Applet and then create new applet,
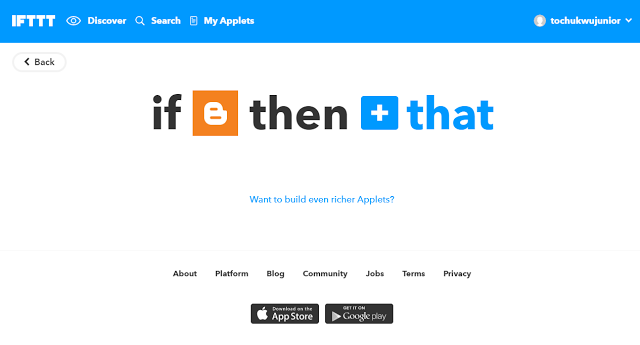
Then you will see if +this then that,
what that simply means is that if “whatever you post “ then it would be shared to “that”. I hope you get the gist.
So the reason of this tutorial we are about to share our blogger post to a facebook page. So is
if “blogger” then “facebook page”
So click on +this
what that simply means is that if “whatever you post “ then it would be shared to “that”. I hope you get the gist.
So the reason of this tutorial we are about to share our blogger post to a facebook page. So is
if “blogger” then “facebook page”
So click on +this
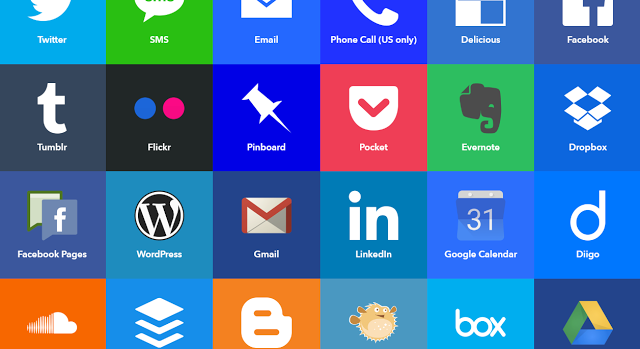
You will see a list of social media that you can share from, but we are only concerned about blogger. So select blogger.
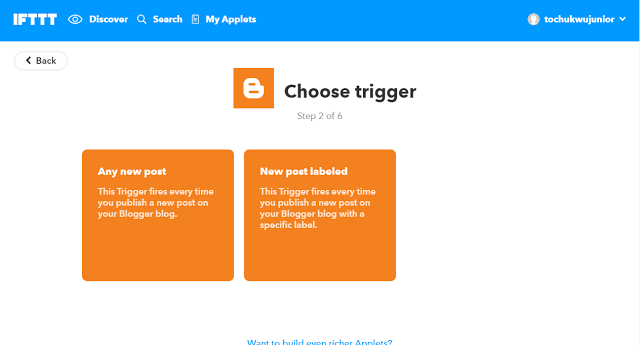
After you have selected the blogger with the logo, you will be taken to a page where you will choose the trigger, then select any new post in the trigger
After you have selected the trigger, it’s time to select our +that
Click on +that and select from the list which one we would like to use as our +that. So we select facebook page.
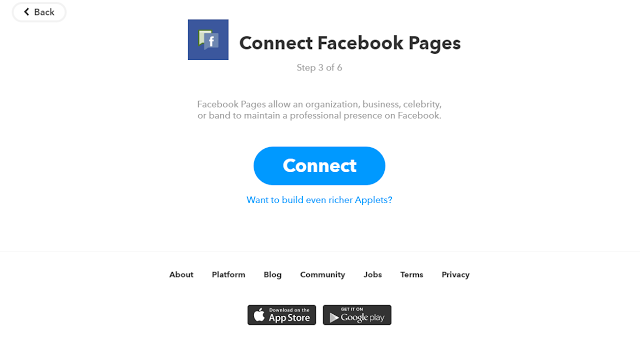
After clicking that it will ask you to connect with your facebook page
After clicking connect you will have to give facebook permission with that page, then select the facebook page you want if you have a list of pages.
Then authorise.
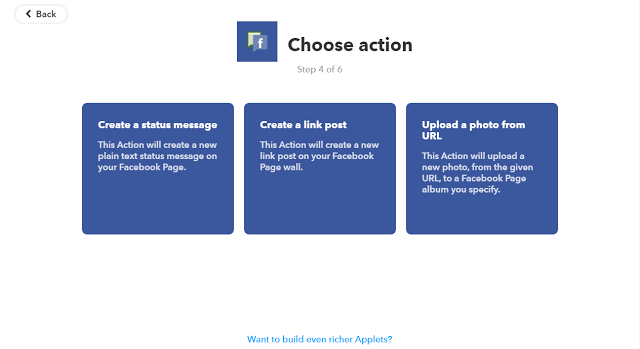
Then you will be taken you step 4, where you will be asked choose action. just select create a link post.
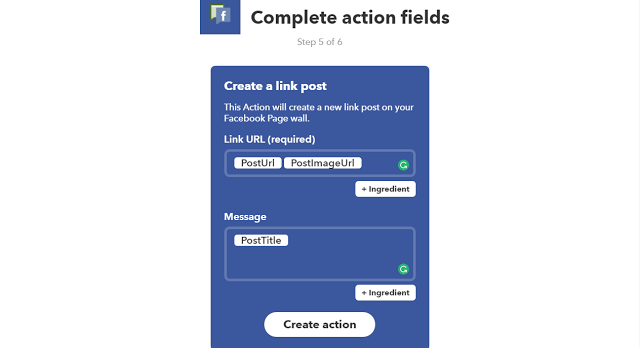
After choosing action, you will be taken to step 5 where you will be asked to complete field action
In the link URL, make sure to select post URL and Post Image URL, by clicking +ingredient, so the post can be with the featured image on your post. As you know that facebook post with image tends to get more click through.
And in message click +ingredient and select post title.
Then click on create action
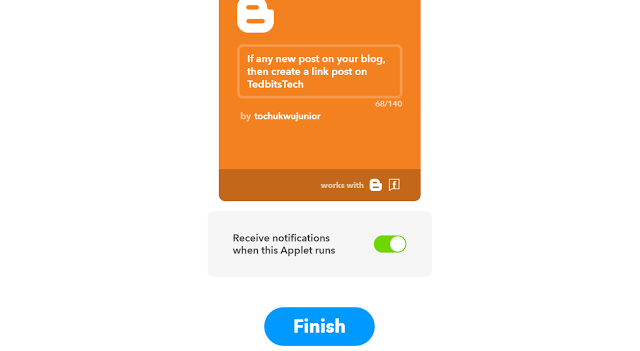
After that you are done, the step 6 will just require you to finish, You will just have to click finish.
And then your done any post on your blog will automatically go to your facebook page.
You want also stop it by removing the authority you gave to it in your facebook settings.
Hope the post was useful, I made it more of image guide on purpose so as to enable you to see the steps as you follow.

No comments:
Post a Comment